If you’ve just started using Power BI, you might be wondering how to get your data out of Power BI and into Excel. Maybe you want to do extra analysis, share the numbers with colleagues, or simply keep a backup.
The good news is: exporting from Power BI to Excel is easy. In this guide, I’ll walk you through three simple methods to move your data from Power BI to Excel—step by step.
Why Export Power BI to Excel?
Even though Power BI is excellent for building interactive dashboards, many people still feel comfortable in Excel. By exporting your Power BI reports to Excel, you can:
- Share numbers with teammates who don’t use Power BI.
- Do additional calculations or formatting in Excel.
- Create backups of your data.
- Combine Power BI data with other Excel spreadsheets.
Now, let’s look at the three easiest ways to export Power BI to Excel.
1. Export from Power BI Desktop to CSV
If you are working in Power BI Desktop, you can’t export directly to Excel, but you can export to a CSV file. CSV (comma-separated values) files are simple text files that Excel can open easily.
Here’s how:
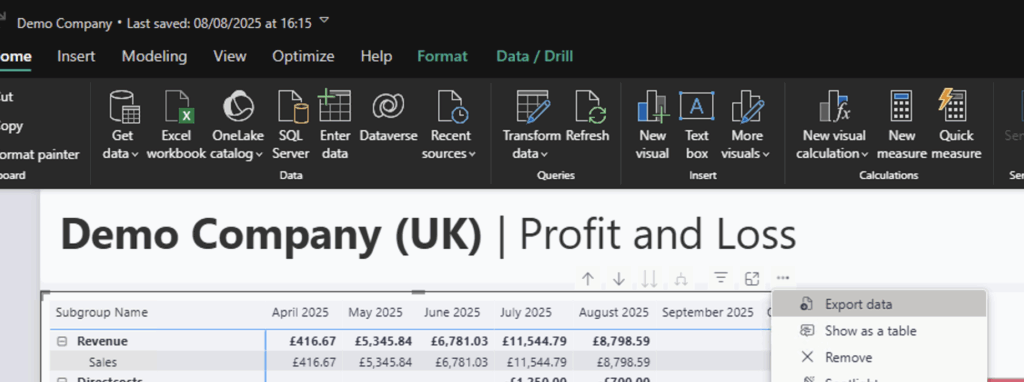
- Open your report in Power BI Desktop.
- Click on the visual or table you want to export.
- In the top-right corner, click the More Options menu (three dots).
- Select Export Data.
- Save the file as a CSV.
Now open the file in Excel, and you’ll see your Power BI data as a normal spreadsheet.
👉 This is a quick way to grab the numbers from a single visual into Excel.
2. Export from Power BI Online with Analyze in Excel
When you’re using Power BI Online (Service) in your browser, there’s a really powerful option called Analyze in Excel.
This method connects your Excel directly to your Power BI dataset. That means every time your data refreshes in Power BI, Excel can also pull in the new numbers automatically.
To use this feature:
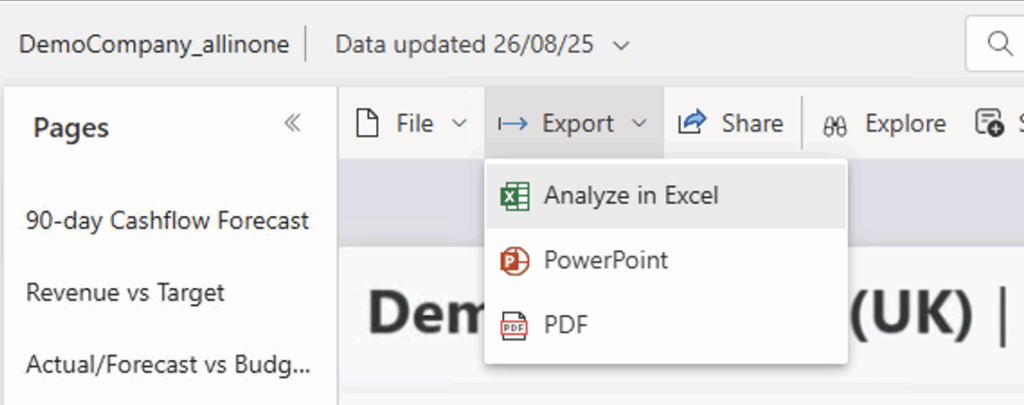
- Go to your report in Power BI Online.
- Click More Options in the toolbar.
- Select Analyze in Excel.
- The first time, you may need to install a small helper file.
- Excel will then open with a PivotTable already connected to your dataset.
From there, you can slice, filter, and pivot your data in Excel—while staying connected to Power BI.
👉 Perfect for when you want live updates and flexibility in Excel.
3. Export from Power BI Online via the Export Menu
Another quick method in Power BI Online is exporting directly from a visual.
Here’s how:
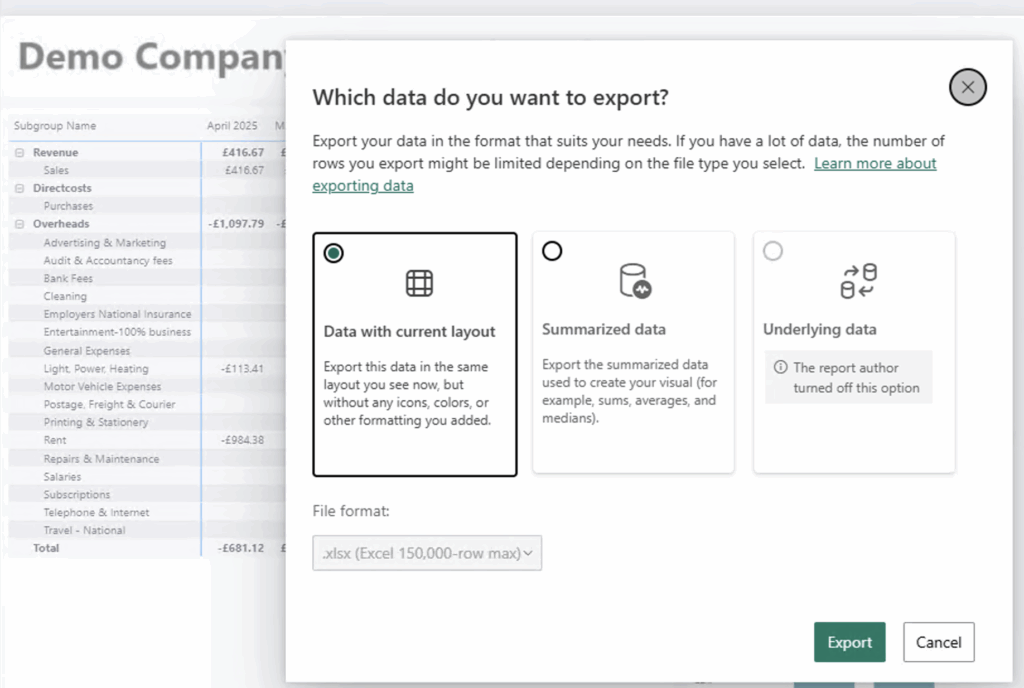
- Hover over the visual you want to export.
- Click the More Options menu (three dots).
- Select Export.
- Choose Excel or CSV as your format.
This gives you the underlying data behind that visual in just a few clicks.
👉 Best for when you just need a snapshot of specific numbers.
Summary
Now you know three simple ways to export data from Power BI into Excel:
- Power BI Desktop → Export to CSV
- Power BI Online → Analyze in Excel (live connection)
- Power BI Online → Export Menu (quick snapshot)
These methods make it easy to share, analyze, or back up your Power BI data in Excel.
Whether you’re just starting with Power BI or building complex dashboards, knowing how to move your data into Excel will save you time and help you collaborate better with others.
👉 Check our HubSpot & Power BI integration and our free templates for HubSpot.
👉 Check our Xero & Power BI integration and our free templates for Xero.
✅ Next Step: Try out one of these export methods today. You’ll see how simple it is to combine the power of Power BI with the flexibility of Excel.